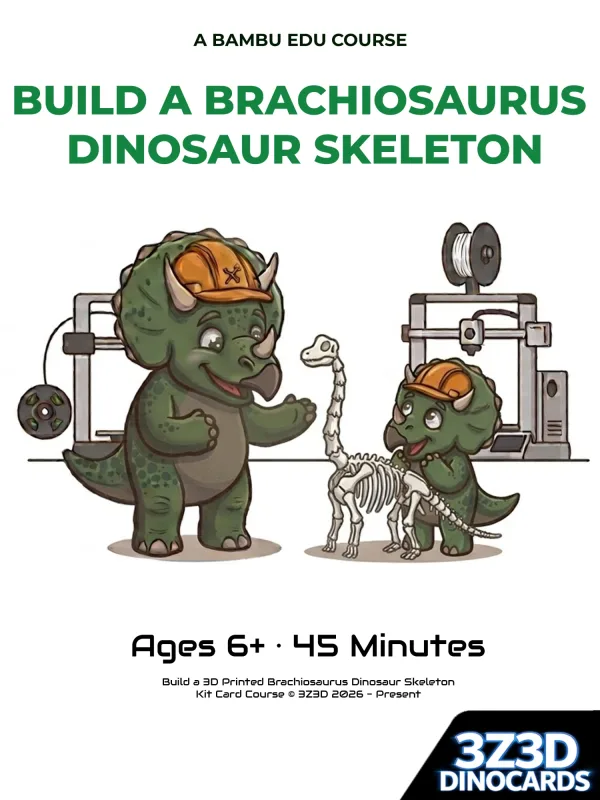
A parent and child learn to use a 3D printer together: how it works, how to stay safe, how to load filament, clean the build plate and send a print. Then they cut out 40 numbered bones and build a standing Brachiosaurus skeleton, with no glue.
- Ages: 6 and up, with a grown-up
- Time: about 45 minutes, plus a 2.2 hour print (1.4 hours on an A1 mini)
- Prints on: one plate, white PLA, no supports, no AMS (Automatic Material System)
- Videos: 8 short lessons, voiced by our son, all on this page
- Where: on MakerKids, MakerWorld's learning platform for kids, as a Bambu Edu course
What your child learns
- What a 3D printer does, and how to be safe near it.
- How flat pieces slot together to make something 3D.
- How to build by following numbers, one bone at a time, until the dinosaur stands up.
Along the way they do the real jobs: loading filament, washing and fitting the build plate, finding the model in the Bambu Handy app, sending it to the printer and taking the finished print off the plate.
 Lesson 1: Meet the Brachiosaurus
3D printer safety tips for kids
The course starts with five rules. Read them together, out loud, before anything is switched on, and have your child say them back.
- The nozzle and the heatbed are hot. Look, don't touch.
- While it is printing, nothing goes inside the printer.
- Only touch the build plate once it has cooled. Gloves are recommended.
- The flush cutter is a grown-up tool. The blades are sharp, springy and sized for adult hands.
- The scraper is a grown-up tool. Its blade is extremely sharp.
 Lesson 2: Safety first
How to load filament
- With an AMS: slide the spool into a free slot and feed the filament in until the AMS grips it. Set the slot to white PLA on the screen if needed, and let it finish loading before you print.
- Without an AMS: put the spool on the holder, choose Load on the printer's screen and feed the filament in.
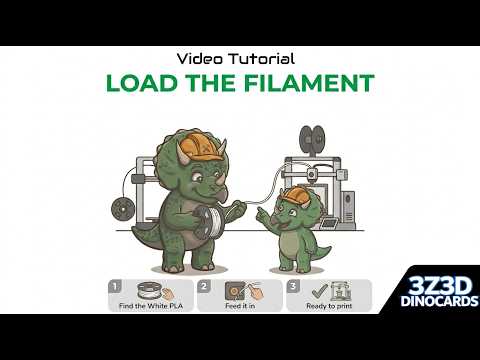 Lesson 3: Load the filament
How to clean a 3D printer build plate
A clean plate is the easiest way to make a print stick. The child does the washing:
- Take the build plate out of the printer.
- Wash it with dish soap and warm water.
- Dry it with a paper towel, and hold it by the edges from now on.
- Slide it back in, lining it up against the back stops.
- The grown-up checks it sits correctly and flat.
 Lesson 4: Clean the build plate
How to find a model and send it to the printer
- Open the Bambu Handy app and search for the Brachiosaurus Kit Card.
- Choose the print profile that matches your printer.
- Look at the screen together: how long will it take, and how many grams of filament?
- Send it to the printer and start the print. Then take a break while it prints, about 2 hours.
 Lesson 5: Find it and send it
How to take a print off the build plate
Wait until the plate is cool. The grown-up lifts it out, the child flexes it and the card pops off. Then the plate goes back in, against the back stops.
 Lesson 6: Remove the Kit Card
Build by numbers
Don't cut all forty bones out first. Work through the card one bone at a time, taking turns:
- Find the next number: 1, then 2, then 3. The numbers guide shows where each pair is.
- The grown-up cuts that bone pair free with the flush cutter and hands it over.
- The child fits the pair together, pushing straight down without twisting.
 Lesson 7: Build by numbers
Name it and rate it
Give the dinosaur a name and say it out loud. Take a photo of it standing up, then open the model in Bambu Handy, leave a rating and add the photo so other families can see what you built.
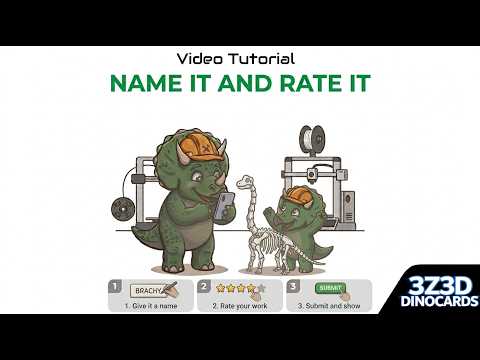 Lesson 8: Name it and rate it
Who does what
Every step has a grown-up job and a child job, so nobody waits.
| Grown-up | Child |
|---|---|
| Turns on the printer and checks it is calibrated | Finds the model in Bambu Handy |
| Checks the right filament is loaded | Finds the white filament and helps load it |
| Takes the plate out of the printer for washing | Washes and dries the plate |
| Checks the plate sits correctly and flat | Puts the plate back in the printer |
| Takes the plate out once the print has cooled | Pops the printed card off the plate |
| Cuts each bone free with the flush cutter | Finds the next number and builds |
The 45 minutes, step by step
| 0:00 | Meet the Brachiosaurus |
|---|---|
| 0:04 | What we will learn |
| 0:07 | Wonder together |
| 0:11 | Safety first |
| 0:14 | Load the filament |
| 0:18 | Clean the build plate |
| 0:21 | Find the model and send it to the printer |
| Break | The print runs, about 2 hours |
| 0:24 | Take the card off the plate |
| 0:28 | Free the bones and build by numbers |
| 0:40 | Name it and rate it |
| 0:42 | Look back, look forward |
| 0:44 | You are a maker now |
Many families split it into two sittings: everything up to sending the print, then the build once the print is done.
Questions to wonder about together
- Nobody has ever seen a real Brachiosaurus. So how do we know what it looked like?
- Our dinosaur is flat. How can something flat stand up tall?
- There is no glue at all. What holds it together?
- A real Brachiosaurus was about 22 meters (72 feet) long. How many of ours would you need, end to end?
For teachers
The course is free to use at home and in non-commercial classes, such as a public school class. Paid classes, private schools, clubs, makerspaces, tutoring centers and camps need permission from Bambu Lab and us: email contact@3z3d.me.
After the course
Build a herd: try the Triceratops, the T-Rex or the Spinosaurus, or move on to bugs, dragons and vehicles. More ideas: 3D printing projects for kids and how to build a Kit Card.
Questions
What age can kids start 3D printing?
Our course is for ages 6 and up, with a grown-up there for the whole session. The child finds the model, loads the filament, washes the plate and builds; the grown-up handles the hot parts and the sharp tools.
Is 3D printing safe for kids?
With a grown-up present and a few simple rules, yes. The nozzle and heatbed are hot, so look but don't touch; nothing goes inside the printer while it prints; wait for the plate to cool before touching it; and only grown-ups use the flush cutter and the scraper. Always follow your printer maker's safety guidelines.
How do you clean a 3D printer build plate?
Take the plate out, wash it with dish soap and warm water, dry it with a paper towel and hold it by the edges from then on, so no finger grease gets on the printing surface. Slide it back in against the back stops and check it sits flat.
How do you get a print off the build plate?
Wait until the plate is cool, lift it out of the printer, then flex it: the print pops off. Gloves are recommended. The short video on this page shows how.
How long does the course take?
About 45 minutes, plus the print: about 2.2 hours on most printers, or 1.4 hours on an A1 mini. Many families split it into two sittings, before and after the print.
What do I need?
A Bambu Lab printer, white PLA and a flush cutter. It prints on one plate with no supports and no AMS (Automatic Material System), and needs no glue. Dish soap, a paper towel and gloves that fit your child are handy for cleaning the plate.
Can teachers use it in class?
Yes, at home and in non-commercial classes, such as a public school class. Paid classes, private schools, clubs, makerspaces, tutoring centers and camps need permission from Bambu Lab and us: email contact@3z3d.me.
3D printing involves high temperatures, moving parts and electricity. Always follow your printer maker's safety guidelines. A grown-up should supervise children using a 3D printer or putting printed parts together.